
Effort Reporting Automation Overview for Certifiers
Changes in Process
Banner Self Service Module
- Same online system/menu where paychecks, etc. are viewed
- Pre-reviewers are added at the beginning of the effort process for accuracy
- If effort is wrong and identified during the review process, payroll adjustments can be made and will automatically update the Effort report
- Effort reports will be distributed for signature to the employee themselves or the alternate certifiers will be able to assign to the appropriate certifiers to the reports
- Once records are certified, approved and locked, no changes can be made without the records being unlocked by the Superuser
- Able to view the status of each report (awaiting certification, certified, unlocked and locked)
- No more PDF distributions and logs
- Reminder: Effort reports only show percentages, no dollars
Overview Demonstration of Report Certification
Process Summary
- Notification is received that the effort report is awaiting certification.
- Check that the effort report and percentages are accurate.
- If the effort report is correct, click on the Certify button to certify the report.
- If the effort report is NOT correct, click on the Request Changes button to send an email to the Department Administrator to do a labor redistribution to correct the effort report. After the corrections are made and you are notified, certify the report.
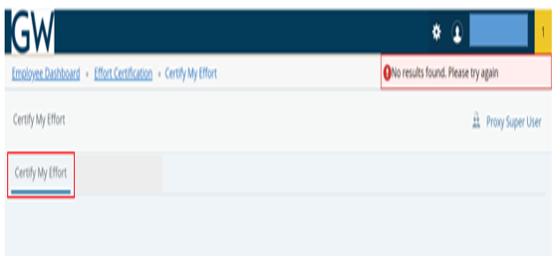
Certify My Effort Page
To access and review your effort report:
- Log into Self-Service (https://it.gwu.edu/gweb).
- Select Effort Certification.
- The Certify My Effort page will come up.
- Click on “Certify My Effort”.
- Double click on your effort report.
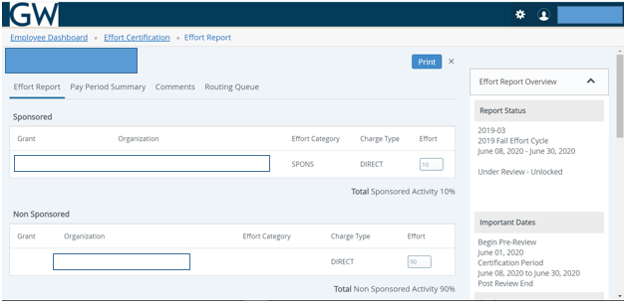
Effort Report Overview
The Effort Report tab consists of sponsored and non-sponsored sections, providing a summary of the report status and dates for the effort certification period.
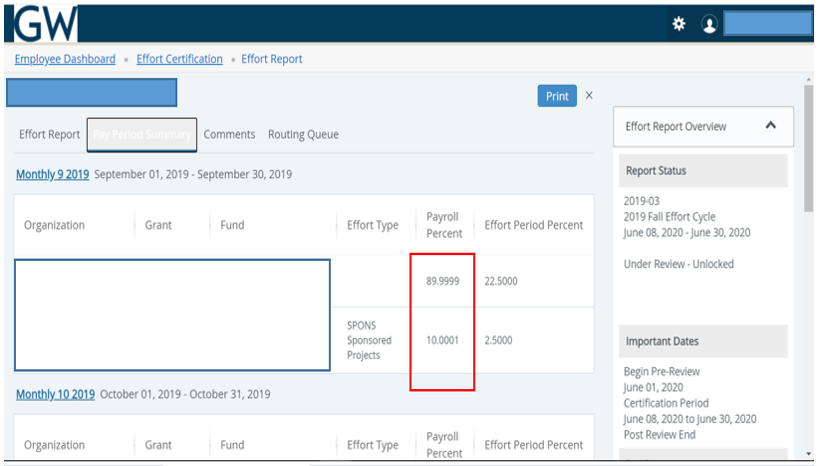
Pay Period Summary
The Pay Period Summary tab provides details of the pay periods, with the Funding Chart providing a graphical representation of the effort for that period.
- Review the effort report to ensure it is accurate.
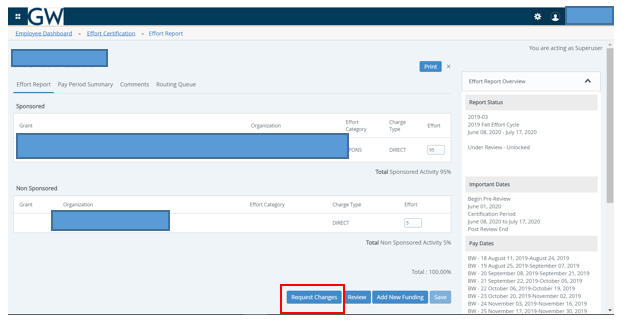
Labor Redistribution Process for Incorrect Effort
If your effort report is not correct:
- Click on the Request Changes button.
- An email window will open for you to send an email to your Department Administrator outlining the changes needed.
- The Department Administrator will process the labor redistribution.
- This will change the effort report status and once the LR has been processed, the effort report will need to be re-extracted to refresh it.
- Note: When selecting the “Request Changes,” the Labor Redistribution will still need to be processed in the Labor Redistribution module.
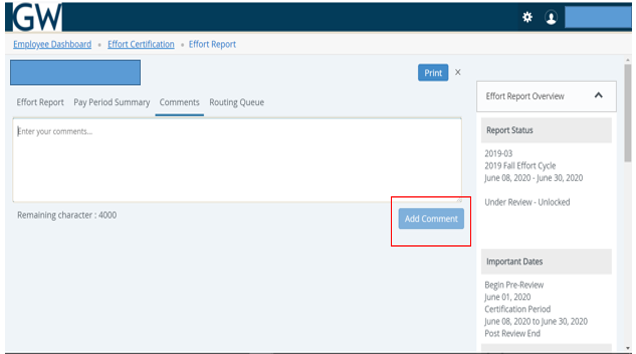
Comments Tab
The Comments tab can be used to add or view comments added by any member of the Routing Queue. Once comments are added, they cannot be updated or deleted.
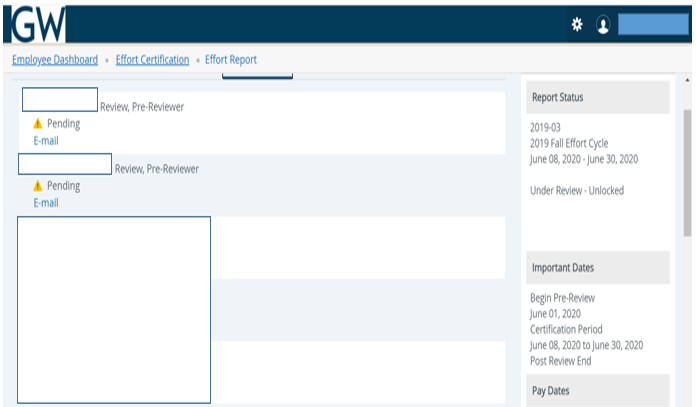
Routing Queue Tab
The Routing Queue tab outlines the status of each stage of the Effort Certification process and the personnel assigned to each role.
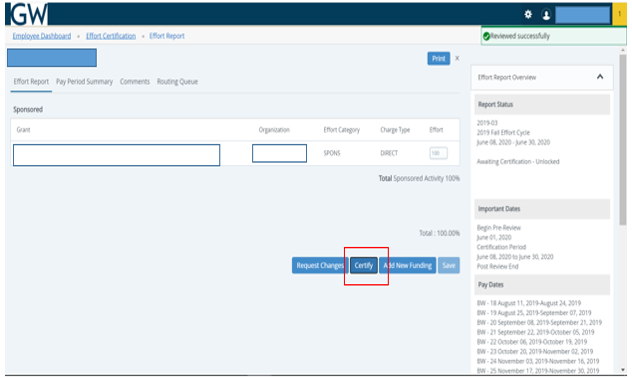
Certifying Effort Report
After reviewing the report, if the percentages are accurate, click on the Certify button to certify the effort report.
- Select Certify from the Effort Report tab.
- The Certify Statement window will open.
- Select I Agree.
- The effort certification has been completed and the period is locked.
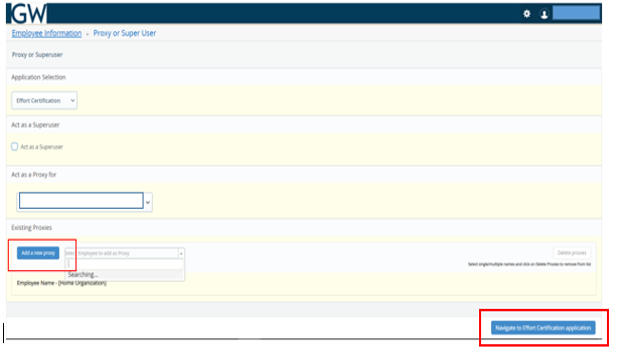
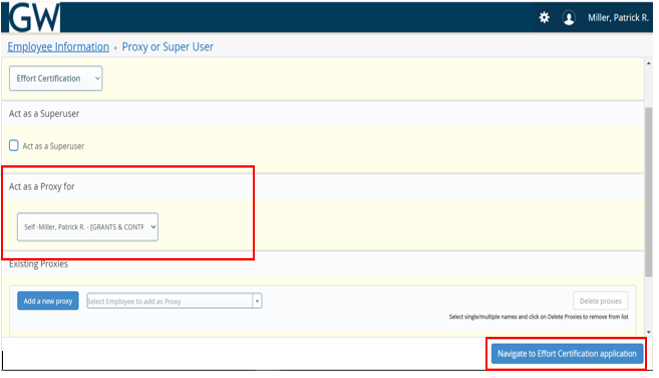
Adding Proxy
A proxy is someone who can act on your behalf in Effort Certification, and can be assigned by a pre-reviewer, certifier, or alternate certifier.
Follow these steps if you will be out of the office and need to assign another employee as a proxy to act on your behalf. Your proxy needs to have knowledge of the work you have performed for the effort report(s) he/she will be certifying
- Click on Add New Proxy, then click in the box Select Employee to add as Proxy.
- Begin typing the name of the person you want to assign as a proxy on your behalf.
- Select the person’s name when it is displayed. (If the person’s name does not appear then that person does not have the proper Banner access). That person will then be listed as a proxy in the Existing Proxies section.
- Click on the check box next to the person’s name to activate that person to be a proxy on your behalf.
- Then click on the Navigate to Effort Certification application button to go back to your queue.
Viewing Reports as a Proxy
To view the queue, a proxy will need to select the name of the person for which they are serving as a proxy from the dropdown list in the 'Act as a Proxy for' section and then click on the 'Navigate to Effort Certification' application button to see the effort reports in the queue. After completing these two steps, the proxy will not see reports in his/her regular queue but only the reports in the queue of the person for which they are acting.
Contact Information
Effort Contact Information
effort gwu [dot] edu (subject: Effort%20automation) (effort[at]gwu[dot]edu)
Patrick Miller, Senior Compliance Specialist
571-553-3523
pmiller05gwu [dot] edu (subject: Effort%20automation) (pmiller05[at]gwu[dot]edu)
Gloria Cruz-Maldonado, Associate Director, Strategy & Compliance
202-994-0875
gloriacruzgwu [dot] edu (gloriacruz[at]gwu[dot]edu)